Video Tutorial: Create Graphics on the Go!
Did you catch our last post on how to save time batch processing your graphics? 'Cause Canva for Work's resize tool will be your BFF when you want to use a cohesive set of images across all of your different platforms. Especially during the Holiday rush, when you need to find ways to streamline your process amid #allthethings!
If you missed it, definitely check it out here: Canva 101: Create Cohesive Graphics in a Click.
To continue with our time-saving tips, this tutorial is all about how to make graphics on the fly while you are in full-on Holiday mode (or just on the go)!
While there are a ton of mobile graphic apps, we'll be using the Word Swag app. We'll show you how to make on-brand graphics while on the run, saving you some sanity during this holiday season (or any time)!
I know time is tight, so let's get started!
Create On-Brand Graphics on the Go Using the Word Swag App
Creating graphics on the go can be done in a snap with a teeny bit of planning that will yield big-time results.
What kind of graphics can you make on the go?
Pretty much anything! We used Word Swag to create simple quote graphics in a few different ways. These graphics can be used on your social media accounts, to announce a sale, send good wishes, as a motivational quote, etc.
We'll walk you through the different options provided by Word Swag and will show you how to create your own beautiful graphics without sitting behind the computer.
We chose Word Swag because it's super simple to use and it has a very clear interface so you don't get overwhelmed when using it. This is important if you want to create quick graphics while you're out and about — ones that stay on brand and don't take forever to create.
Good News: Not too much prep work is needed!
- Before you hit the road, make sure your smart phone has the Word Swag app downloaded.
- We would also suggest that you make sure your logo is in png format with a transparent background, and that it's also loaded onto your smart phone before you walk out the door. You may have access to it via Dropbox, or Google Docs, and that is OK too, just be sure you know how to access that logo file to include on your graphics!
- You can also download images from the Haute Stock Library in advance to make it even easier to create these graphics in record time!
That's it for prep, now it's time to get your Swag on!
1. If you need images, go to your Haute Stock account, log in, and find images that you want to use for your graphics. You can choose any photos (even ones that don't have your brand colors) because with the app you can fade images back, add different overlays, and more. Just be sure to pick images that resonate with the messaging you plan to include on your graphic.
2 . Word Swag also has background graphics that are included with the app that you can use, but we decided to upload our own photos to use as background images. You can choose the graphic size you want to design for, and all the basic social media sizes are available along with a few others. Once your graphic is in place, you can change the opacity, add color overlays, and more.
3. The best part about Word Swag, in our opinion, are the fun font styles that are included. They have a bunch that you can choose from, and you can select different set ups of the same font. You can also "roll the dice" to see even more options. This font tool takes all the thinking out of the typeface selecting process by offering many varieties of high-quality type treatments. You can double click the type to change it, add in a credit/author line, change the color, use color overlays, change the size, tilt it, and more. Have fun playing with the options to find the perfect style that aligns with your brand!
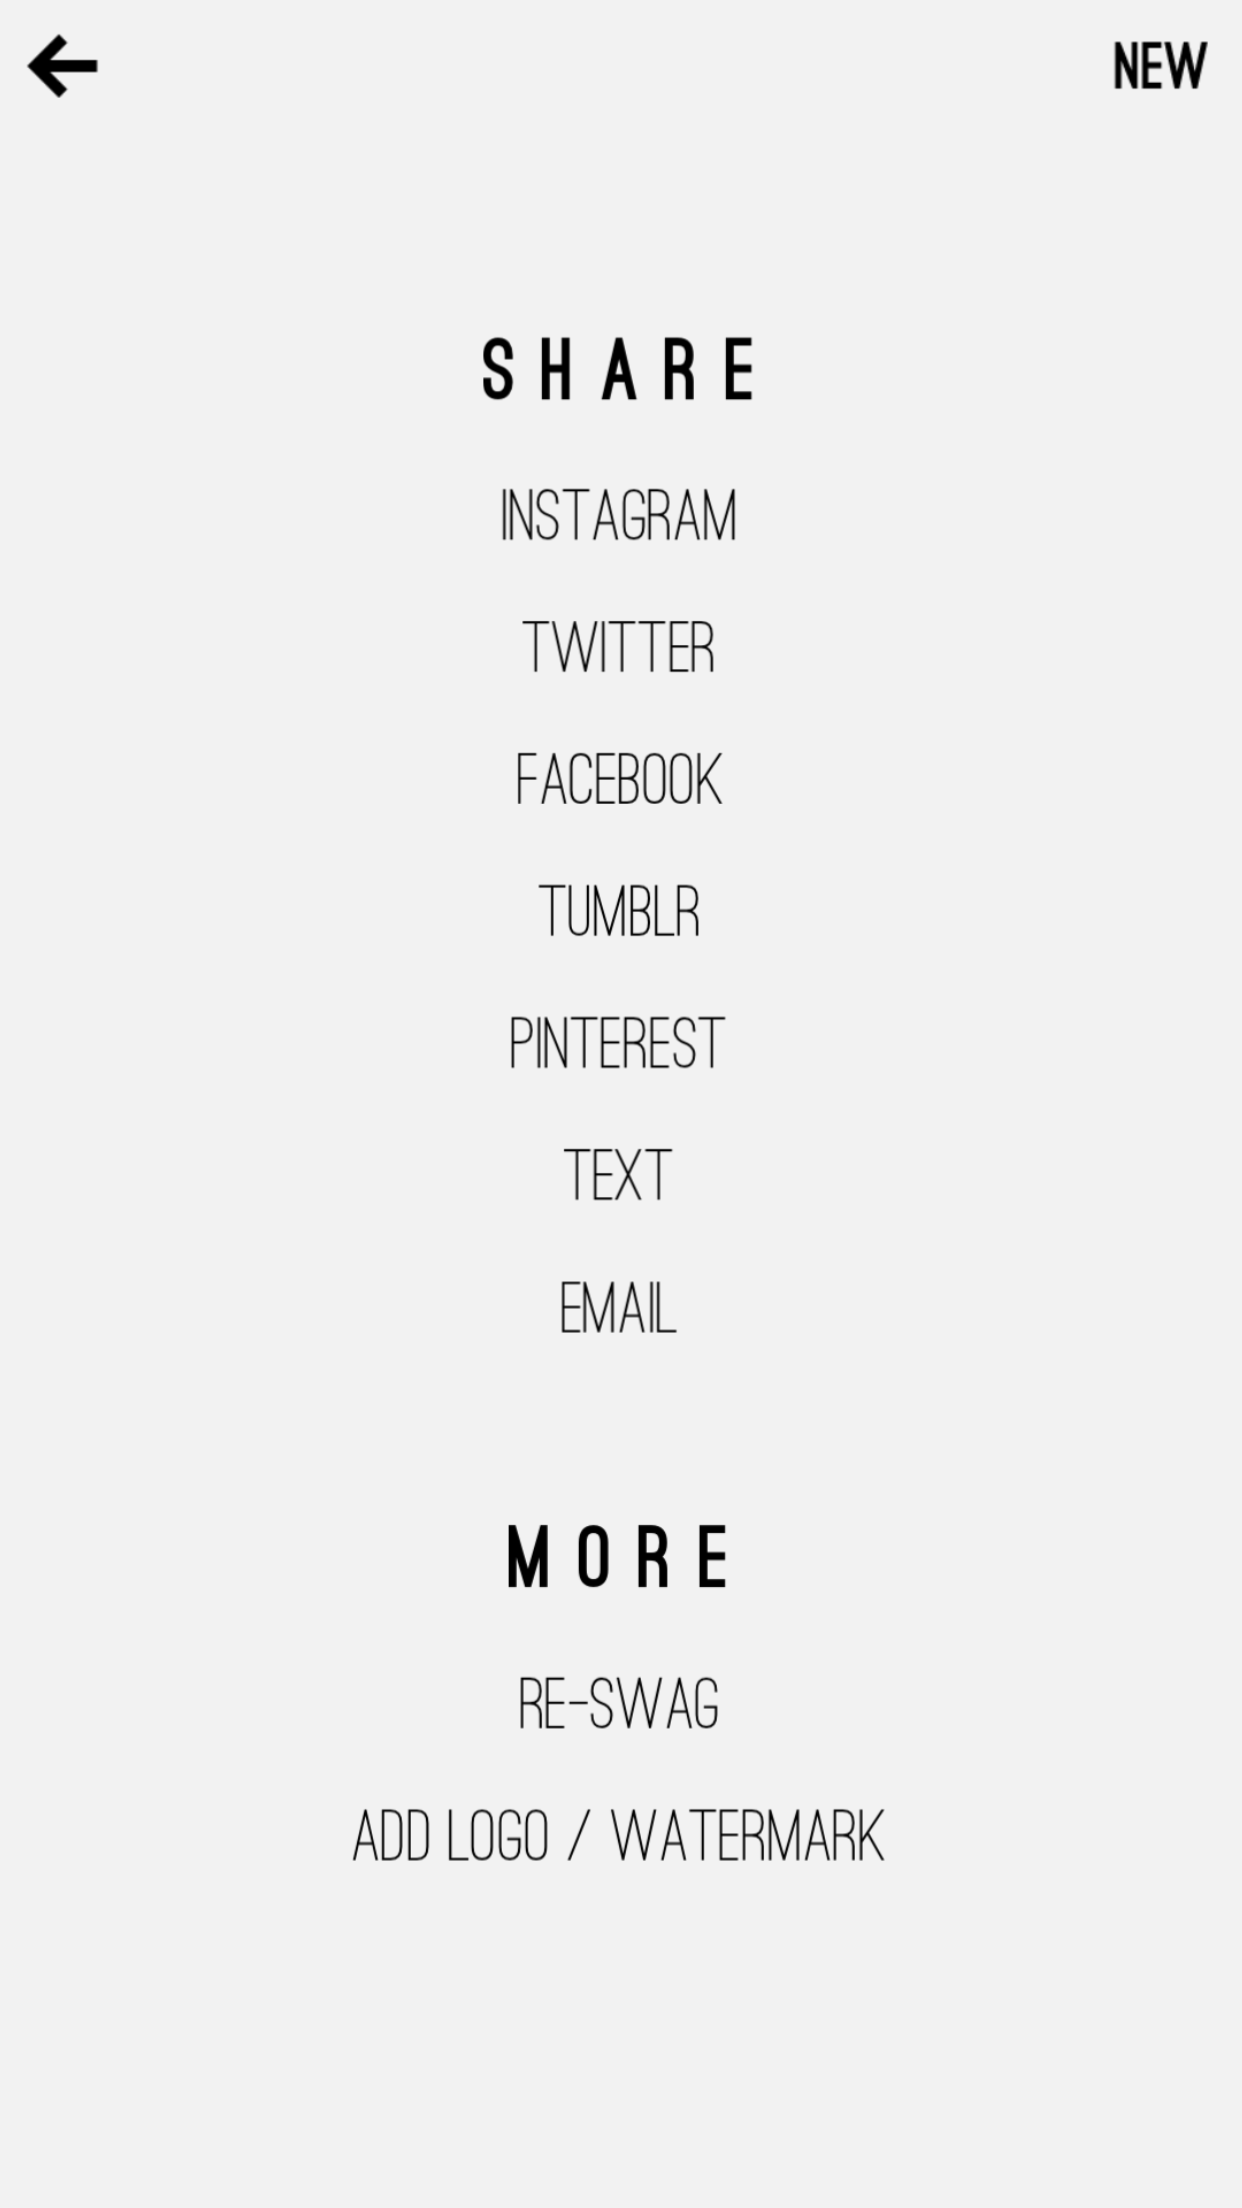
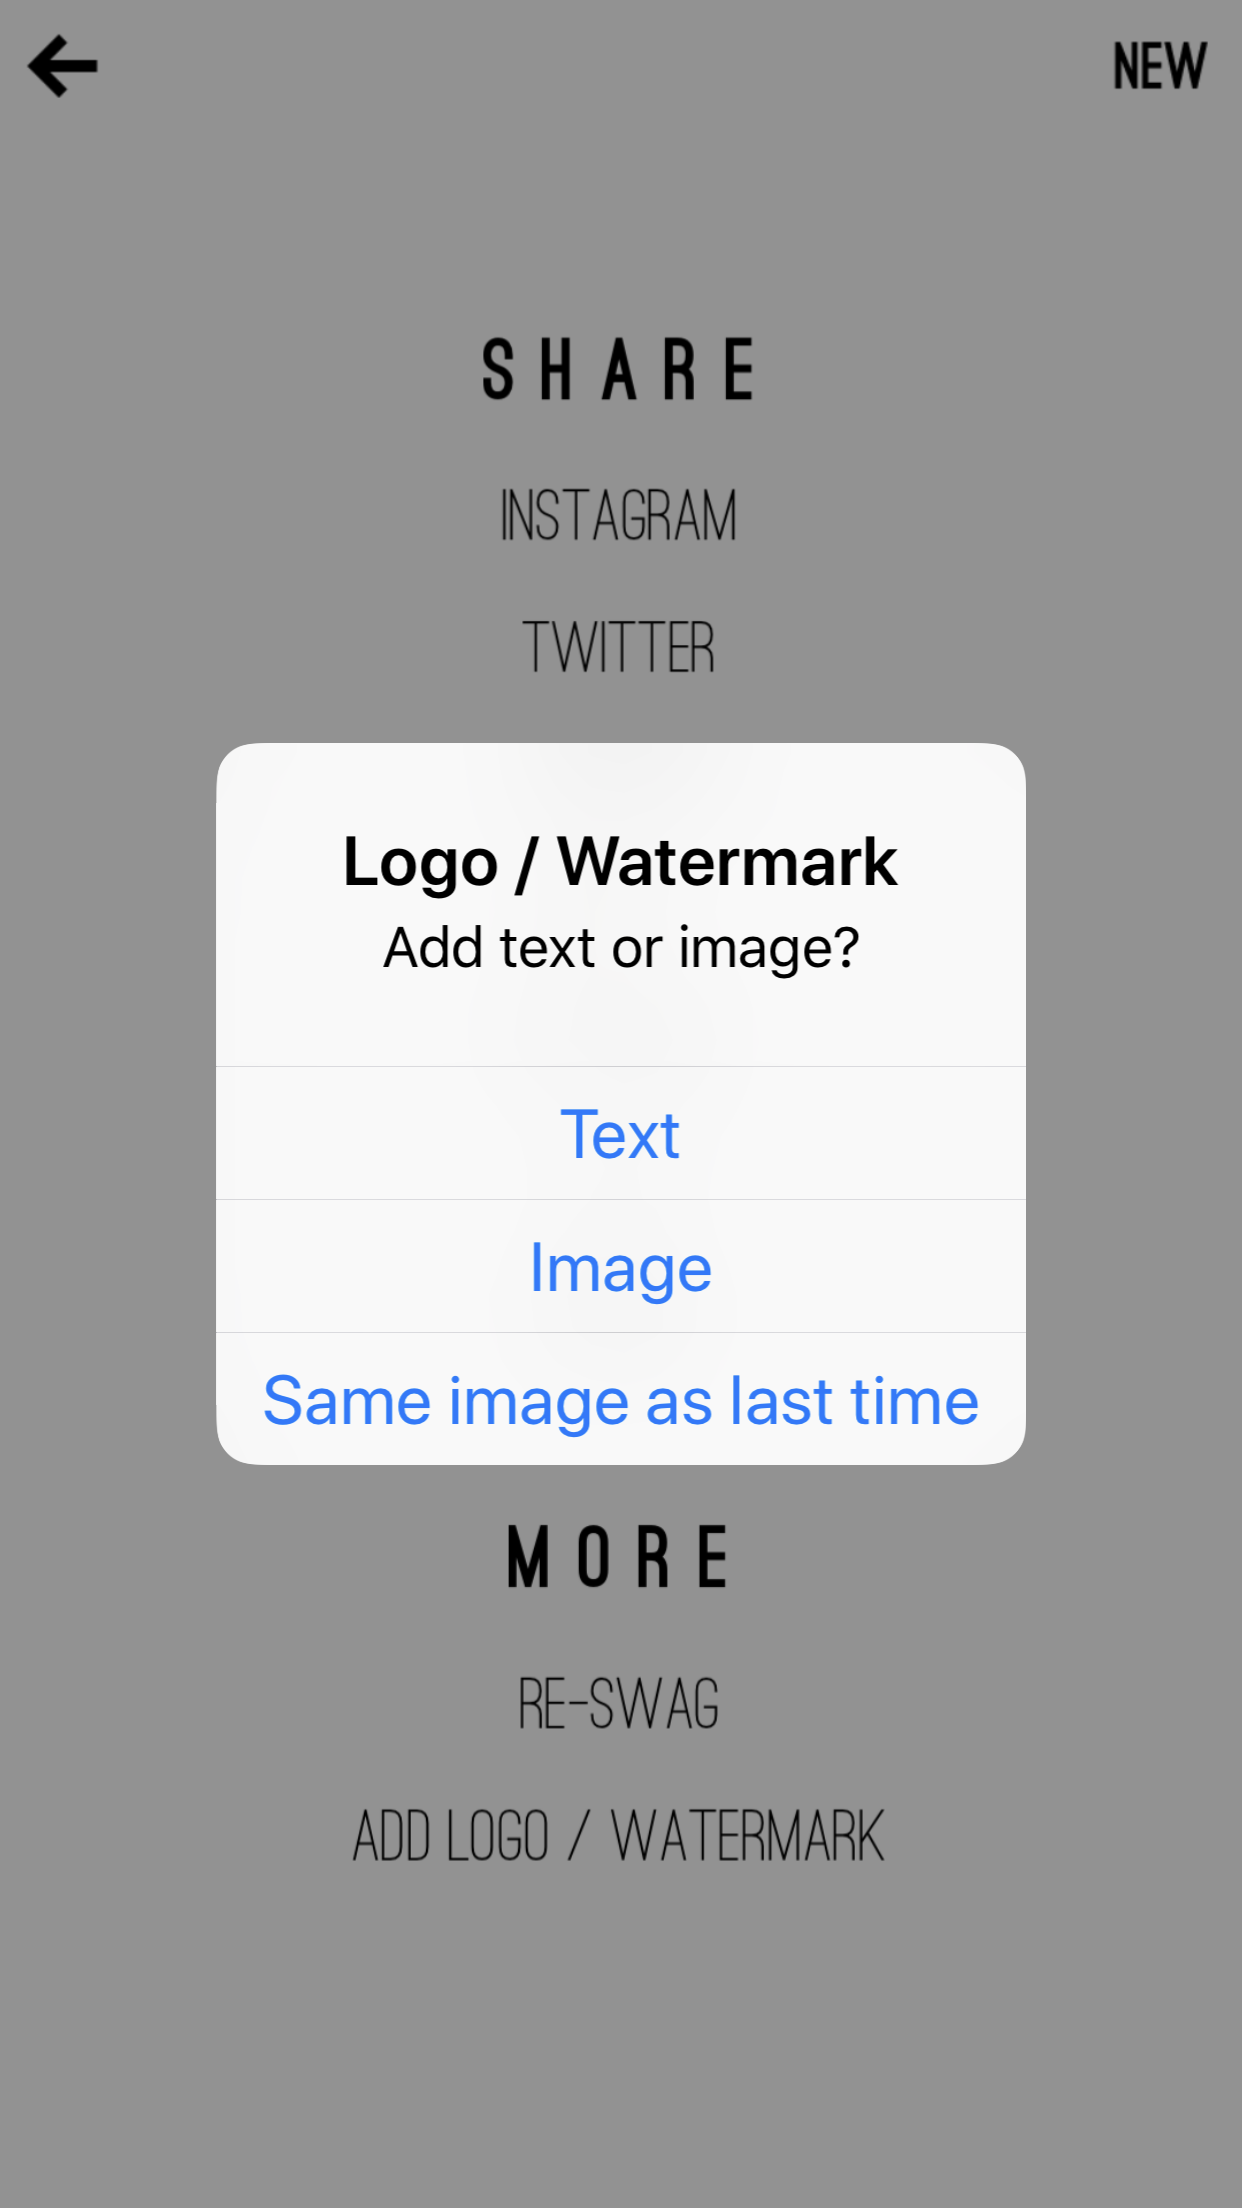
4. Once you've finished your design, you can save your image to your camera roll or post it straight to your social media. If you decide you want to add in one more detail, you can also "reswag" it, to add in another line of copy using a different type treatment. You could use a reswag to add in your url if you didn't include it in your initial image, or you could add your logo by selecting "Add Logo / Watermark" (that is why having your logo in png format is a good idea!)
Pro Tip: Adding your logo adds to brand awareness at a glance. Once you use your logo, Word Swag will remember it for future uses which is really cool!
5. Once you have swagged and reswagged, save your graphic to your camera roll and you are ready to roll!
That's pretty much the gist of Word Swag — it's super easy to use and it will help you get beautiful graphics while you're out and about, quickly!
Don't forget to catch the video below TO see how to use word swag in action!
We hope you enjoyed this tutorial and found it useful! The goal is that your graphics creation is fast and easy, while still on-brand and professional looking. We'd love to see your latest creations using this tutorial. Be sure to tag us with #hautestockco so we can check out your work!
Ready to add some serious sparkle to your graphics this holiday season?
sign up for hautemail and get 21 free stock photos!
This post was written by LeAnna Weller Smith: Executive Creative Director, Weller Smith Design & Design Expert, Haute Stock.


